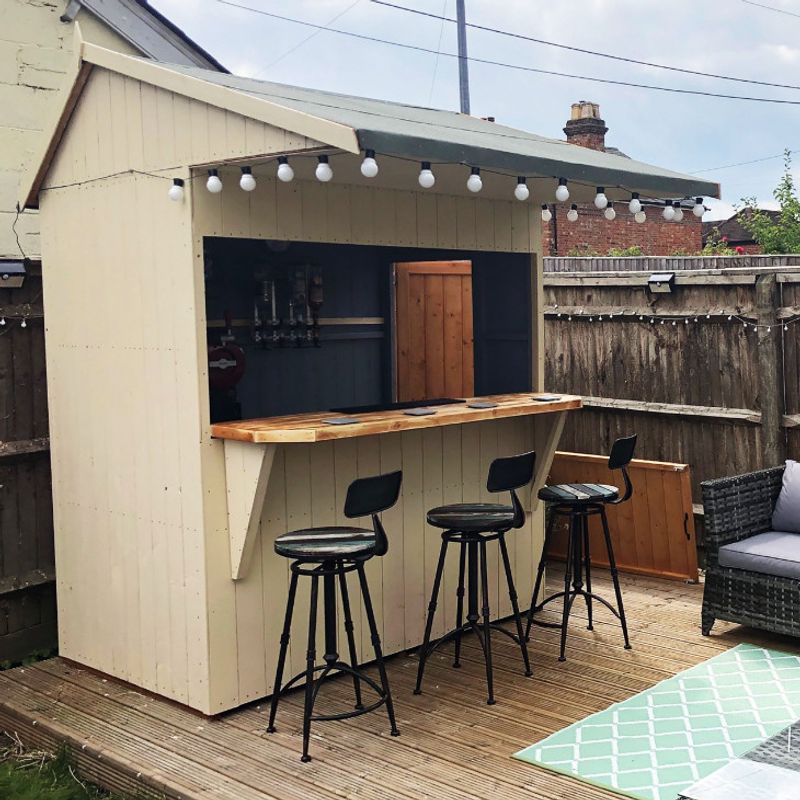
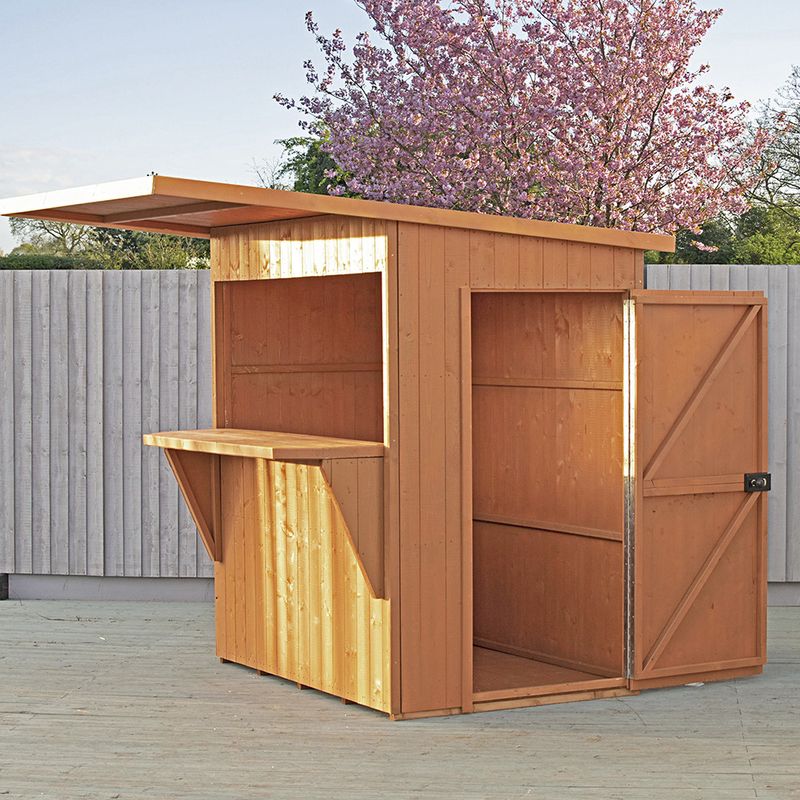
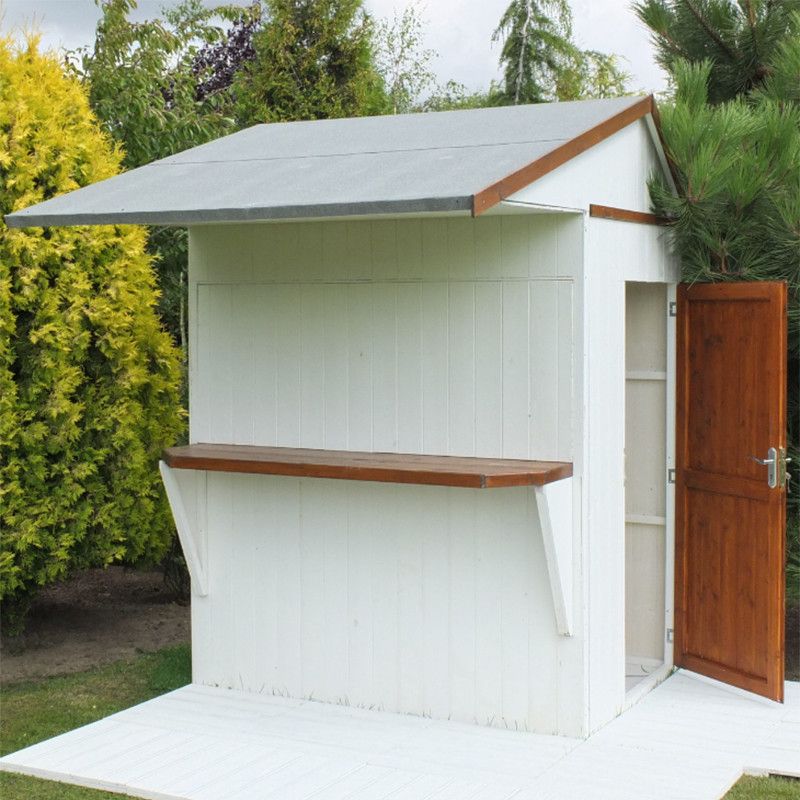
What’s better than a garden? A garden with your very own pub! With a shed bar, you’re saving money on drinks that could cost you a fortune and creating the perfect space to relax in the comfort of your garden. It’s also a fantastic solution for social events, as you’ll always have a space to host. Whether that may be family barbecues in the summer or friendly Christmas celebrations around a warm fire pit in winter, a shed bar is useful on many occasions.
So, how are you going to convert a shed into a bar? Well, that’s where this guide comes in. Check out the big and small shed bar ideas below to incorporate into your design to help you create a truly unique space that will transform your garden, especially when it comes to relaxing with a cool drink or hosting parties and socialising with friends and family.
Table of contents
- Why should you have a shed bar?
- How much will my shed conversion cost?
- Can I insulate my shed?
- Do I need planning permission?
- How to turn a shed into a bar
- Can I add accessories to my new shed bar?
- So, is it worth converting a shed to a bar?
Why should you have a shed bar?
There are plenty of reasons why you should have a garden bar shed.
Private shed bars are cost-effective
Instead of continuously waving your card over the pay machine in the middle of the night and racking up a costly tab, you can stock up on your favourite drinks from the supermarket instead. Whether hosting or relaxing outside on a sunny afternoon, you can pour as much or as little as you like without being concerned about the hefty cost at the night’s end.
That includes removing the need to fumble into a taxi to take you home! A shed bar means you can flop right into bed without the costly expenditure. After all, saving money is always a win!
You’ll always have a place to host
If you love a social event, a home shed bar is a brilliant way to bring a touch of pub atmosphere right into your back garden. With you as your very own landlord, you can even add some stools and small tables to create a truly authentic Great British pub experience.

The theme of the shed bar is all yours
Have you always wanted to revisit your favourite holiday beach bars? A classic tiki bar shed will evoke memories of this experience and transport you back to that tropical paradise.
On the other hand, do you love the atmosphere of British pubs? Decorate your shed bar with classic pub-related décor, like beer mats, a chalkboard detailing available drinks, a dart board for entertainment, or maybe a shelf for all your favourite pub snacks. You could even opt for a sports bar aesthetic by covering the walls of your bar in your favourite team’s colours. Using sports memorabilia, such as team flags, scarves, and shirts, you can create the perfect den for you and your fellow fans to cheer on your team in style.
Either way, how you style your new bar shed is up to you.
Shed bars are easy to create
You may be surprised to learn converting a shed into a bar is quite simple, depending on how you intend to use it. Having said that, there are existing garden bar sheds that remove the need for a full conversion if you’re not the DIY type.
How much will my shed conversion cost?
There isn’t a typical cost for converting a shed to a bar. This is because the size of the cost will depend on how much you include in this project.
With that said, costs can be as little as £150 to as much as £11,000. So, consider what you really want for your new shed bar. Ask yourself:
- Do I want new flooring or decking?
- Am I looking to have a gazebo?
- Will I need insulation or heating?
- Is lighting important to me?
- Are windows and doors needed?
- What utilities do I need? (If any)
These are just some things to consider before moving forward with your shed bar ideas. Check your budget, think about how often you’ll use the shed bar and anything else important to your lifestyle.
Now, if you’re planning stage is complete, you can move on to that vital process – creating that all-important shed bar!
Can I insulate my shed?
Absolutely! Insulating a shed can make a world of difference. It can be inexpensive and exceptionally effective. The insulation will help the structure retain heat much better and serve as a warm space during the colder temperatures.
Before you insulate your shed, ask yourself the following:
- Are the windows and doors of the shed intact?
- Are there any leaks in the roof or floor?
- Are there any gaps in the cladding?
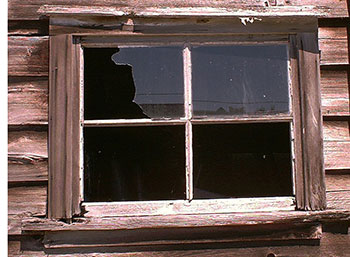
These will be your primary focus before you insulate your shed. This is because if these issues aren’t dealt with before, it can lead to the insulation becoming damaged from the weather. There’s no point wasting time insulating a shed only for it to become part of the problem.

Luckily, most domestic sheds in the UK have stripped-back internal timber walls. Thanks to the exposed joists, these can be easy to insulate, especially if they are equal distances apart, as insulation slabs can slot right into the space. You can then cover this using OSB (Oriented Strand Board) or plywood board to hide it and finish your project.
Sheep wool and wood fibre insulation batts are good solutions, too. If you opt for wood fibre insulation, be sure to wear suitable protection such as masks to avoid inhaling fibres.
You can also insulate your shed floor, again topping it off with OSB or plywood board once you have done so. Either way, this should help you create a comfortable setting for whatever weather is thrown at you and your shed.
Do I need planning permission?
It’s always best to confirm with your local council on this matter. Sometimes the size of your shed can affect it.
You can find your local council via the government website.
How to turn a shed into a bar
These steps are for a simple shed bar conversion. For decking or gazebo fittings, speak to a professional for advice.
First off, let’s find out what you need for the process.
- Broom
- Dustpan and brush
- Bucket
- Cloth
- Pencil
- A metre ruler or small-width timber length
- Hand saw
- Hammer
- Drill
- Paint tray
- Paintbrush or roller
Now onto your process for a shed conversion!
Step one: Empty the shed
After wearing your casual clothes, preferably something that you don’t mind getting messy, clear out your shed of spare garden tools or items. To make it easier, you can create two piles to help decide what’s worth saving for future use and what can be disposed of.
Note: Try to minimise what you keep or else you won’t have the space to bring your outside shed bar to life.
Step two: Clean the shed
If you’re someone who doesn’t clean your shed regularly, now’s the time to do it. Grab your dustpan, brush, broom, bucket, and cloth and get scrubbing! Watch out as some beasties (i.e., spiders) may live amongst the debris. These will also need removing.
While you’re cleaning, take note of (if any) damages. Split or rotten wood must be dealt with before you start the conversion.
Note: Keep the door open and wear a dust mask to prevent airborne particles from being inhaled.
Step three: Plan out the hatch opening
Choose which side you want your hatch to open to create the counter, and measure this out with a ruler or piece of timber. Make sure not to mark out too close to the edges of the wall.
Note: You can attach plywood to the inside panel for a clearer counter style (optional).
Step four: Saw the hatch opening out
With your hatch opening all planned out, you can now saw through the wall of your shed and remove the cutout section from the space. Place it with the exterior face down and attach the fixings to the side facing the shed’s interior. Do this in the following order:
- Fasten hinges across the bottom edge of the hatch.
- Place two staples on plates at the top of the panel on the left and right-hand corners.
- Connect two dee shackles to the staple on plates.
- Attach chains to the dee shackles.
Step five: Prepare the hatch opening for the hatch door
Once you have prepped the hatch, you must do the same for the opening. This includes placing D-shackles at the top of the cutout section so that the chains from the hatch can connect to the space to hold in place when unlatched.
Step six: Attach the hatch to the opening
With the hinged side at the bottom, screw the hatch in place and ensure the loose chains are attached to the shackles on the opening and the hatch door. This will enable a smooth opening and closing system.
Step seven: Time to add some shelves and optics wall features!
If you’re going all out with the shed bar, you need shelves and optics for the ultimate pub experience. After all, where else will you stock your alcohol when you host garden events?
For the shelves, you can grab some timber (of your desired size) and attach these to the wall using brackets and screws. For the optics, the clever little gadget that acts as a drink dispenser, you can easily buy these and screw them in place onto the wall where you like.
From here, you can store your alcohol as desired in your very own shed bar.

Can I add accessories to my new shed bar?
Absolutely! There’s nothing like a personal touch to make something your own and shed bars are no exception. Here are a few ways you can spice up the design of your new garden shed bar.
Lighting (fairy lights, small garden lamps, etc)
If the typical electrics are too harsh for you, outdoor lights can do wonders for creating the right atmosphere. Perhaps you could add some string lights for a celebration-style feeling or lanterns for a calming scene.
You could even be cheeky with a light-up sign or disco ball and really get the party started. Either way, lighting is a brilliant way of alternating the atmosphere without making major changes to your shed bar’s design.
Games (Darts, ring toss, tabletop etc)
The classic dartboard is a staple in many pubs and bars, so why not have your very own? It’s a terrific way to create a space for some friendly competition.
That’s not all. If you’ve got board games lying about, you could bring those along if you’re hosting an extra big event. Parents might even appreciate this as a suitable distraction for their little ones.
For those with sheds with electrical connections, you could even install a music system or pinball machine in the shed. It’s certainly a fantastic way to keep friends, family and even neighbours entertained when they visit for a drink and a chat.
Plants (hanging baskets, climbing plants etc)
If you’ve got green fingers (not literally, of course!), you’re going to love being able to add little planting bits and bobs to the bar. You can use hanging baskets to show off some of your favourite flowers or even add some ivy to cradle your shed to add more nature to your garden.
You could even store and grow some herbs in the shed for cocktails, so it’s accessible during any use of the outdoor bar. Whether it’s a mojito with mint, a martini with lavender or even non-alcoholic ginger lemonade, there are plenty of opportunities to become a brilliant bartender in your back garden.
If you really want to branch out with your ideas, consider tropical plants to bring out that beach bar aesthetic even more. Palm trees, banana plants, ferns and more will bring your tiki bar dreams to reality.
Furniture (bar stools, tables etc)
‘What’s on your mind, mate?’ – is what you could say to your guests when they rock up to the bar and sit at one of your bar stools. All prepped and ready for them to relax and enjoy a friendly chat with their host without rushing to find a seat or standing for hours on end.
Adding tables, chairs and benches into the mix can also help increase that bar atmosphere. If you’re running an event with party food, for example, your guests can grab a plate and take a seat to enjoy the meal rather than worrying about becoming a balancing act with their drink in one hand and food in the other.
Worried about mismatching your furniture? We’ve got some beautiful garden furniture sets to suit many different settings.
Hatch
Now, you may be wondering why we added this as an accessory despite putting it in the main steps. Well, although considered a main part of the bar, it can be an accessory. This is because a hatch is technically another access point for your guests to talk to you and vice versa.
So, what does this mean? Well, instead of going through the manual labour of creating a new opening, you can opt for a fancy shed door. A paint job or even staining can make it look exceptionally beautiful when paired with the right decorations.

Flooring
If you love decorating, don’t forget to include the floor in your shed bar conversion. You could go for a classic stain and paint job or opt for adding flooring over the top.
Wooden floorboards and laminated flooring are a popular choice for the traditional bar feel. Alternatively, you can add artificial grass to match a tropical aesthetic.
Electrical appliances
If you have the means, you could go that extra mile and add a beer and wine fridge to your bar. This could sit comfortably on the floor beneath the counter so you can live your bartending fantasy.
How about a radio or even a television? Again, if you have access to electrical connections and are familiar with these fittings to create a safe linking point, they can be a great addition for yourself and your friends.
So, is it worth converting a shed to a bar?
Well, if you love the social aspects and enjoy a bit of DIY, this conversion is right up your alley.
Whether you’re looking for somewhere personal to relax after a hard day at work or fancy a space where you and your friends can have a casual drink without the crowds, this is for you.
Don’t wait! Check out our range of garden furniture, sheds and even garden bars to have your very own pub setting as soon as possible.


