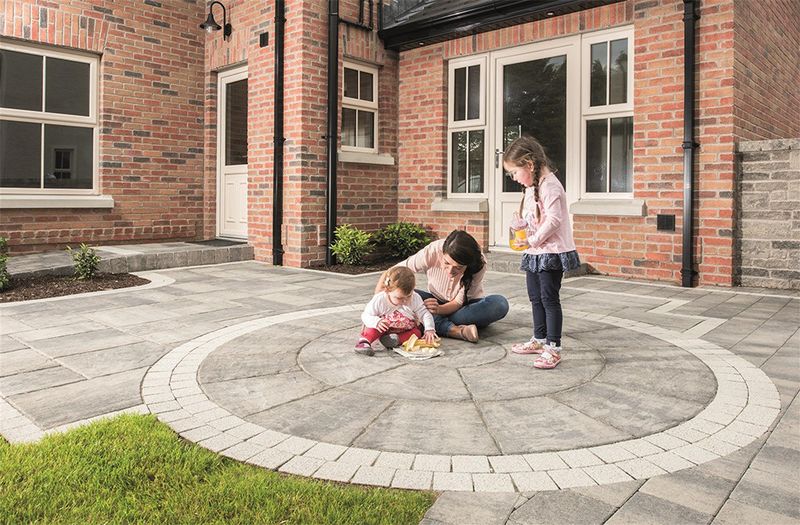
A new patio can make a world of difference to your garden. It enhances the appearance of your landscape and offers a space to lounge and relax with friends. If you own a business, adding garden paving to your outdoor space is also a terrific way to encourage customers who want to sit outside in the sunny weather, perhaps with an ice cream, coffee or cold beverage. So, where do you even start when adding a new patio to your garden?
Laying a patio isn’t as scary as you may think. Here are some steps to guide you to ensure you have a suitable space outside your property.
Table of contents
How to plan a patio
First, understand what you want for your outdoor space. You must learn how to measure and mark for your patio design. No worries, as we will explain this in the steps below.

With that said, time to find out what tools you will need for this process.
What you will need
- CAT (Computer Assisted Translation) tool
- String/builder’s line
- Pegs
- Set square
- Spade
Step one: Locate any hidden cables or pipes
Before you start digging and prepping your patio area, it’s a good idea to use a CAT tool to ensure that there are no buried cables or pipes beneath the surface. This helps you avoid any surprises and ensures a smooth patio installation.
Step two: Mark the position of the patio
You can do this with the string, pegs or a builder’s line. Give the corners a quick check with a set square to make sure they form right angles. If they’re a bit off, no worries, just make the necessary adjustments to get them squared up nicely.
Step three: Mark the edge of the patio with a spade
Grab a spade and use it to outline the patio’s perimeter. Once that’s done, you can put away the tools you used in the previous step.

Please note: You must have all measurements and markings in place to prevent the patio from being laid incorrectly.
How to prepare a patio base
Here’s where you really dive into the preparation stage. You must make sure the patio base is up to scratch before you apply the slabs. If not, it can lead to a poorly applied patio (including a wonky appearance and risking potential replacements needed early on in future).
So then, what do you need for this? Let’s take a look.
What you will need
- Spade
- Tamper or wacker plate
Step one: Dig a 150mm depth across the area you plan to pave
This depth should be below the damp-proof course of the house. You will also need:
- To allow for 100mm MOT type 1 or hardcore.
- 25mm of sand and cement mix.
- The thickness of the slab to be installed.
You must also take the fall into account with your calculations; keep it the same during the process.
Please note: If upgrading from older slabs, dig them up before you begin the process.
Step two: Create a runoff for rainwater
Create a slight slope (aka a runoff) to allow rainwater to fall from the patio. 16mm per metre fall is the typical recommendation.
Please note: If your patio will be next to a lawn, it’s a good idea to position it about 10mm below the ground level. This will make your life easier when it’s time for those long-term mowing sessions, ensuring a smooth transition between the patio and the lawn.
Step three: Create a 50mm layer using the MOT type 1 or hardcore and a rake
Make this as level as possible. Then, using a tamper or wacker plate, compress the area to create a base. Then add the other half of the product, which should, in total, create a depth of 100mm. Compact this to finalise the base.
How to lay patio slabs
Now the fun part – laying the patio slabs! Here you can apply your design. So, what do you need?
What you will need
- Patio slabs
- Rubber mallet
- Small strips/offcuts of wood
- Spirit level
- Sand and cement mix
- Tarpaulin
- Trowel
- Brush
Step one: Rake out the sand and cement mix approx. a depth of 25mm
Look at the manufacturer’s guidelines and then grab yourself a watering can equipped with either a fine rose or a spray gun. Use it to mix the water with the material, and then get your trusty rake to even out the surface.
Step two: Begin to lay the slabs
Start at the highest point, adding water to the bottom side of the first slab and laying it in the corner. Use a rubber mallet to tap it down into place, ensuring it sits comfortably in place.
From here you can use this as a guide to ensure the following slabs are level and square.
Step three: Leave space for joint width
While you’re placing the slabs, keep in mind to leave some room for joint width. To keep those gaps consistent, a handy trick is to use a spare piece of wood as a spacer.
Also, as you go along, be sure to check if the slabs are level using a spirit level, and make sure the slope is just right.
Step four: Leave the patio to dry
Now, leave the sand and cement mix to dry for a few days (or at least 24 hours, depending on the weather). If the forecast shows rainy days ahead, throw a tarp over the patio to keep it dry. This prevents the slabs from shifting around.
On the flip side, if you’re working on the patio in hot summer weather, make sure it doesn’t dry out too quickly. Rapid drying can cause the mortar to crumble.
Step five: Fill the joints
Once the sand and cement mix has dried up, it’s time to fill in the gaps between your slabs. You can use more of the same sand and cement mix or opt for a dry mortar mix made from 4 parts sand and 1 part cement. Just ensure you add enough water to make it a bit damp.
Now, take your trowel and apply this mixture to the joints. Don’t forget to brush away any extra stuff that ends up on the slab’s surface. Leaving it there could lead to unsightly stains, so it’s best to clear it away promptly.
Please note: Check manufacturer instructions if you want to apply a sealant, as some can affect the colour of the slabs.
There you have it! Your very own new patio!

If you plan to add garden furniture, find out how to clean it with the help of our guide. We also have small garden furniture ideas if you don’t want your seating or surfaces to overshadow the paving without compromising on beautiful furniture design.

Was this guide useful?
Mentioned in this project guide:


