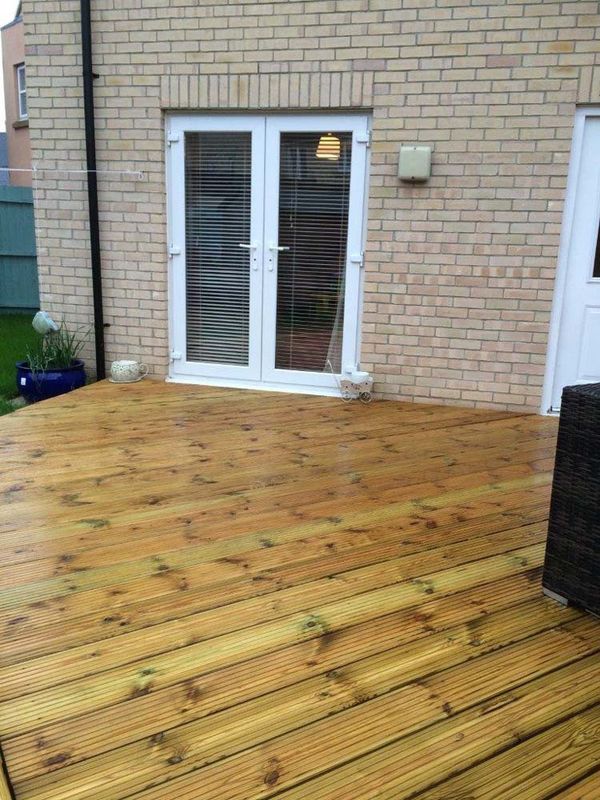
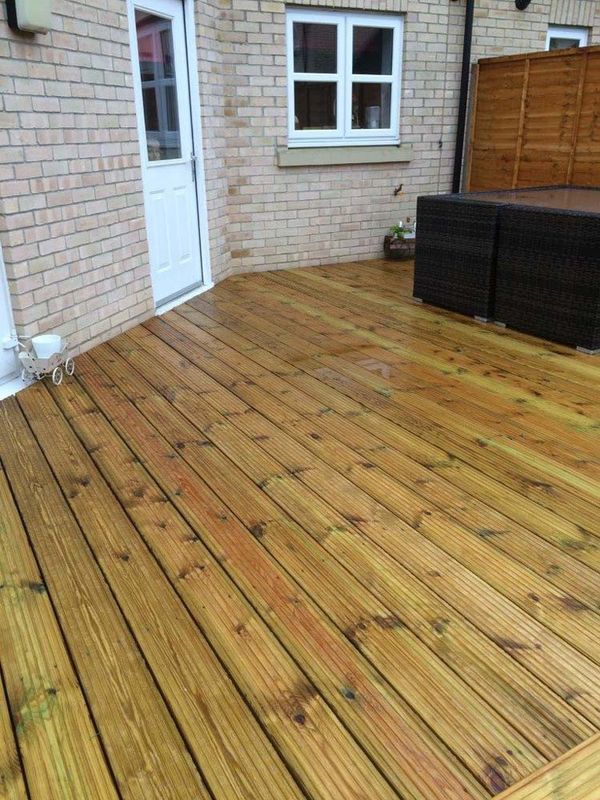
Decking, especially timber decking, can lose its shine if not tended to properly. Decking stain is a great way of supporting the appearance of decking, but how you stain your deck depends on the tools you use and your desired end goal. That’s where our guide comes in.
Here you can learn about the various ways to apply decking stain and ensure the final appearance is what you want for your decking. You’ll also learn when staining a deck is appropriate to avoid overstaining. So, let’s get into it!
Table of contents
- Can you stain decking straight away?
- How should you stain a deck?
- How do you apply deck stain?
- How to stain a deck
Can you stain decking straight away?
While you may be jumping at the chance to revitalise your decking, wait for it to weather naturally for at least a few months, especially if the wood was treated before it was installed.
If the timber has undergone pre-treatment, it’s crucial to let that existing treatment wear off. This way, when you do apply a stain, it will ensure the stain sticks to the surface better and results in a more durable finish.
Now, if the decking wasn’t pre-treated before installation or has been sitting for at least six months without prior staining or painting, follow the steps provided in our guide.
How should you stain a deck?
When it comes to deck staining, how you perform the task depends on the type of decking stain and the level of protection you want for your deck. So, if you want to enhance your deck’s durability, opting for a decking protector is a good shout. Why? Well, a decking protector can:
- Enhance durability: It reduces damage caused by foot traffic.
- Create sunlight defence: Protects against harmful UV rays.
- Work as a rain repellent: Keeps your deck safe from the elements.
Decking protectors usually have a translucent quality. This means you can still admire the natural wood look of your deck without compromising its appearance.
Remember, staining a deck is not a one-and-done process. You must apply the decking stain regularly to maintain that fresh look. If uncertain, check manufacturer instructions to see how long the stain can last and when you need to use the retreating agent.
How do you apply deck stain?
Decking stain is typically applied using two or three main tools – brushes, rollers, paint pads and paint sprayers. The tools you select will depend on whether you want the job done quickly and whether the deck stain is usable with said tools.
Here are the following tools used to apply stain to a deck.
| Tools | Uses |
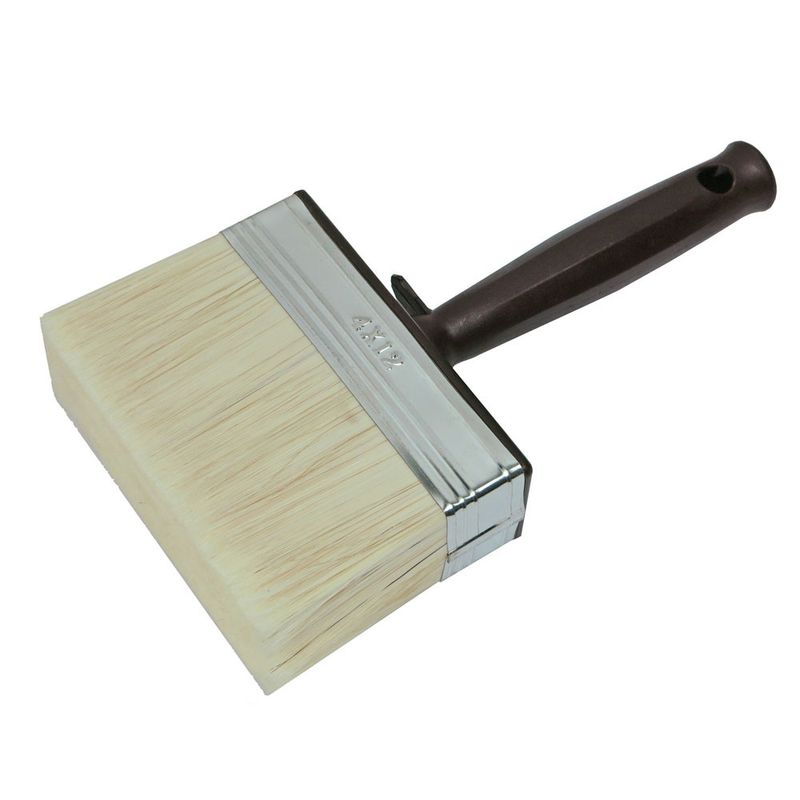
| Brushes | •Ideal for smaller spaces, gaps and general areas too small to try to cover using large tools. •Working with only this tool can take a long time to finish covering the decking. |
| Rollers | •Designed for quicker application to cover large decking areas in shorter periods. •Most have extenders to prevent the need to bend down or extend your body as much when covering the space. |
| Paint pads | •Similar to rollers. •Can be used on smooth decking or grooved decking. |
| Paint sprayer | •Considered the most efficient solution for staining a deck. •Sprayers can use less of the stain product in a shorter time. |
How to stain a deck
Staining a deck varies depending on the type of deck stain products. You must read the instructions to ensure you have the right tools to apply it correctly.
For all staining methods, you must clear and clean the deck. You can find out how to clean your decking here. If you have already cleared, cleaned and left your decking to dry, continue with your chosen staining method.
How to apply decking stain with a brush
Step one: Prepare the stain
Open the container with the decking stain and stir it thoroughly – this will ensure an even colour distribution. Trial the stain on a hidden spot of your deck to see how it’ll turn out once it dries.
Note: Don’t shake the container because this can lead to bubbles forming during application.
Step two: Plan your exit for the staining process
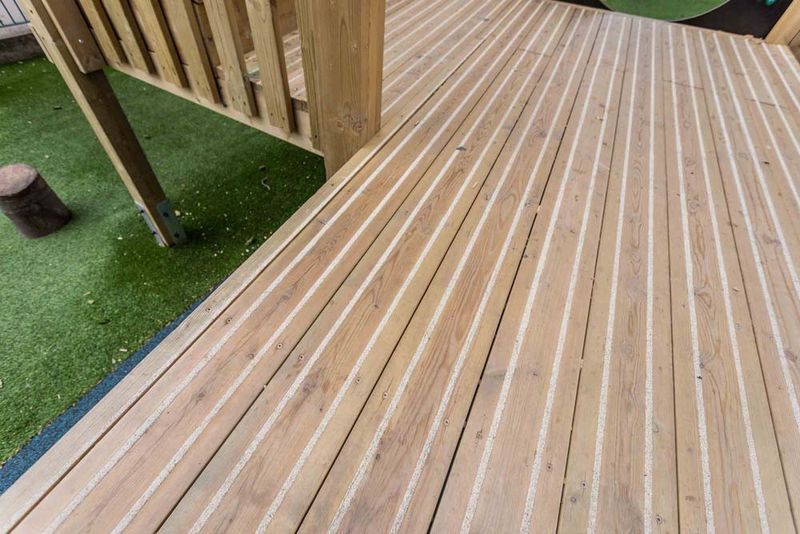
Identify an exit point from the decking area. Begin applying the decking stain from the farthest corners and edges. Follow the length of the boards, especially boards with ridges. Focus on a few boards at a time and only apply what the wood can absorb without any trouble.
Step three: Let the stain dry
Once you’ve finished, allow the deck stain to dry. If necessary, apply additional coats to the decking. After completing the staining process, clean the brush with warm water.
How to apply decking stain with a roller or paint pad
Step one: Prepare the decking stain
Open the deck stain and stir it thoroughly to ensure even colour distribution. Test it on part of the deck, preferably an area that will be unseen, to see what the dried form will look like.
Note: Avoid shaking the container, as it can lead to bubble formation upon application.
Step two: Create an exit route for when you stain the decking
Find a way to exit the deck. Dip the roller into the tray or stain container holding the product. While the roller is in the container, twist it to remove excess stain.
Step three: Apply the decking stain
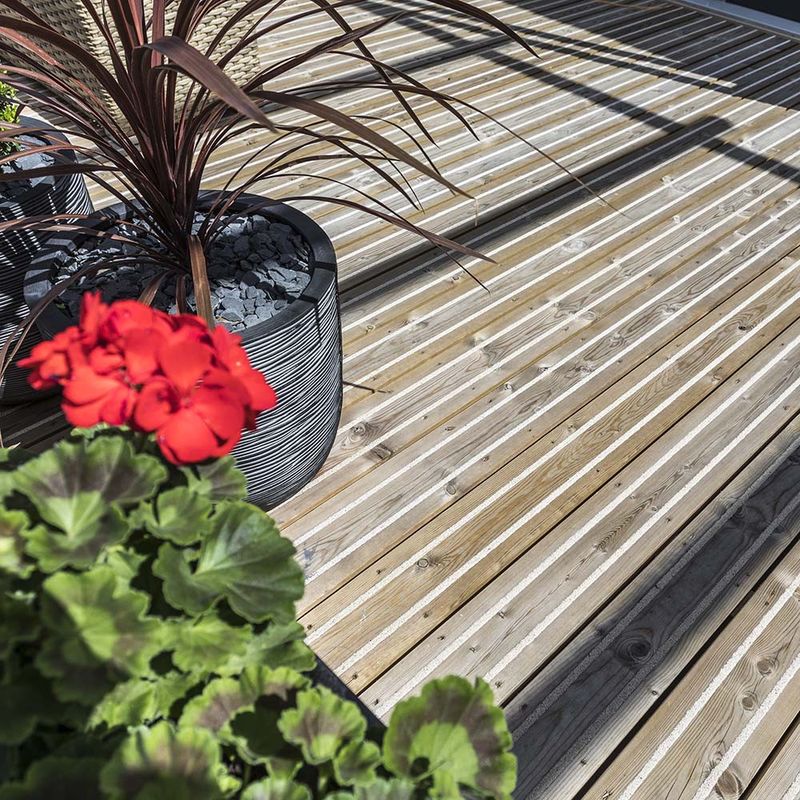
Maintain an even appearance by repeating the staining process. Apply the decking stain along the length of the boards, covering a few at a time from one end to the other of each deck board.
Note: For smaller or tight spaces, consider switching to a brush for better coverage.
Step four: Additional coats (if necessary)
If you need to, apply more stain coats. If you have any leftover stain in an external tray or container, you can pour it back into the original container if you transferred it previously. From here, you can leave the stain to dry.
How to apply decking stain with a paint sprayer
Step one: Prepare the area
Cover any immovable items or objects near the decking space. Sprayers are more likely to go overboard when covering the deck, so cover any at-risk areas accordingly.
Step two: Load the sprayer
Fill the sprayer tank with decking stain. Angle the sprayer pick-up tube to reach the bottom of the container, reducing the need for frequent refills during application.
Step three: Apply the decking stain
Ensure you have an exit path and hold the sprayer at least 20cm above the ground for an even application. Apply the stain along the length of the boards, covering a few at a time from one end to the other. Move the sprayer quickly or reduce the flow for lighter coats to avoid drips or runs. In tight spaces or smaller areas, consider using a brush for better coverage.
Step four: Additional coats (If necessary)
If needed, apply additional stain coats. If you have leftover stain in a separate container, you can pour it back into the original container if you have transferred it. Allow the stain to dry.
Now you know the different deck staining methods, choose the one that suits your project best and start creating a beautiful deck as soon as possible.
Alternatively, if you’re looking for a new decking material altogether, head over to our decking buyer’s guide for more in-depth information about the varying materials. We also have dedicated guidance for installing ground-level and raised decking if you want a new surface.

Was this guide useful?
Mentioned in this project guide:


