Artificial grass has been growing in popularity over the years as people find more and more uses for it in their gardens and other outdoor spaces. The question is, how do you lay artificial grass down for that all-important landscape design? Well, that’s what we’ll be helping you to learn about in our guide to laying artificial grass. We’ll explain what you need and how to create that perfect space, whether your plans are for convenience or aesthetic appeal we’ve got lots of information to help!
So, let’s start planning and laying your new artificial grass.
Table of contents
- Before you lay artificial grass
- Grab the tools you need and check the area
- Preparing the base for the artificial grass to lay on
- Laying artificial grass on a solid base
- Laying artificial grass on a sand and stone base
- How to join artificial grass
- Aftercare guidance for artificial grass
Before you lay artificial grass
You must complete these tasks if planning to lay any artificial grass down. It won’t only help make the fitting process less worrying but also prevent issues from appearing randomly in future.
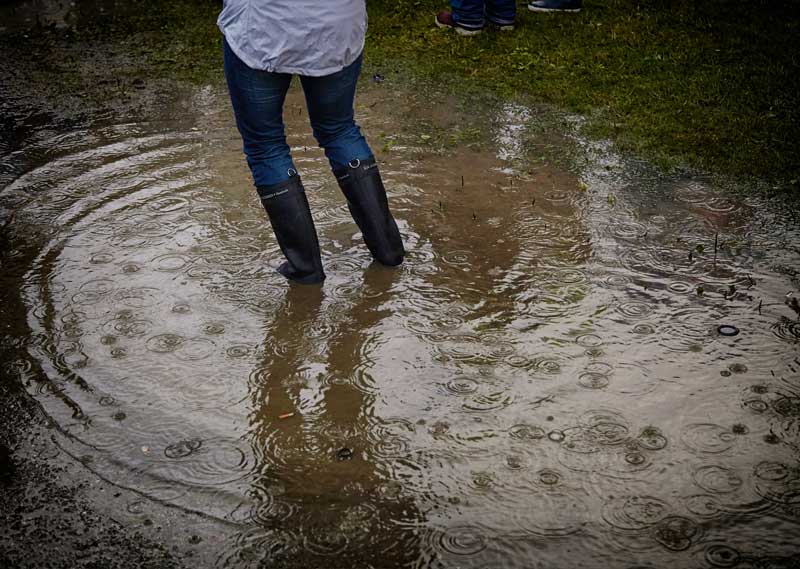
Do you have ponding water? Then, it’s time for some better drainage solutions! You can find out about this via our guide to improving garden drainage.
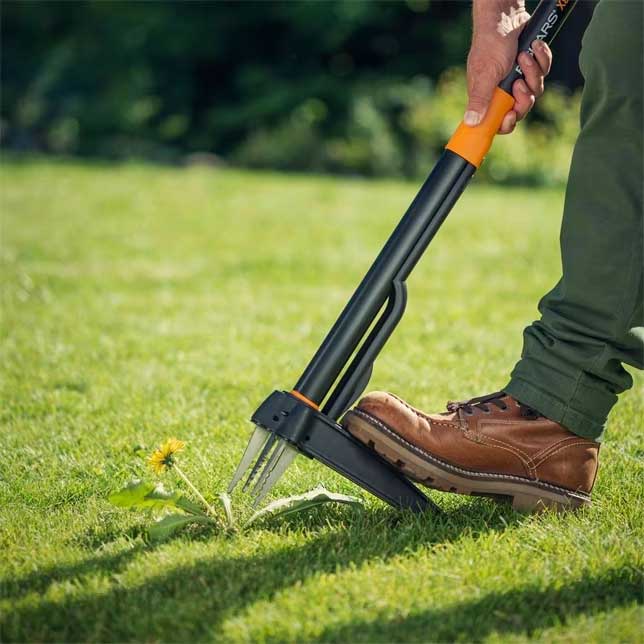
Do you have weeds or unwanted plants? Remove these for a clean, clear surface space to work with.
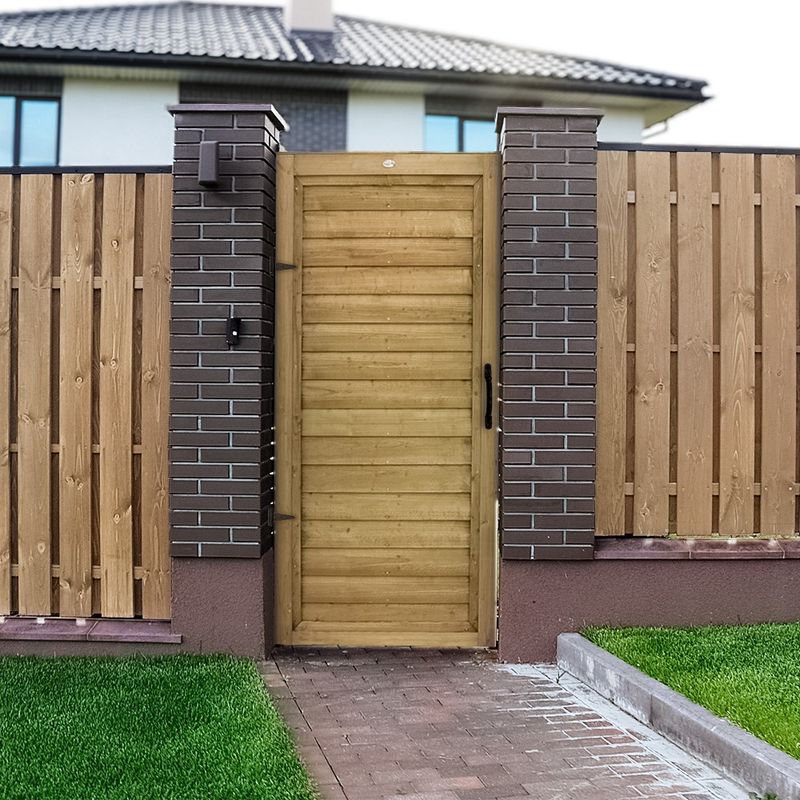
Lastly, don’t block access to the garden as you work. So, make sure to clear any garden gates, back doors, etc. Not only is leaving them blocked a time waster but makes bringing tools in and out of the area much more difficult. You don’t want to carry a large chunk of fake grass only to awkwardly manoeuvre around a bin or chair.
Once you’ve got this down, you can now move on to the very first stage of the grass laying. So, how do we start?
Your first stage is to grab the tools you need and check the area
What do you need? Well, here’s a brief list of the things that will make laying your artificial grass easier:
- Artificial grass
- Knee pads
- Gloves
- A sharp knife (with spare blades)
- A measuring tool (tape measure or straight edge is recommended)
- Compaction tool (plate or roller)
- Turf cutter or lawn edge tool (spade)
- Outdoor broom with stiff bristles or a power brush
- Disposable bags
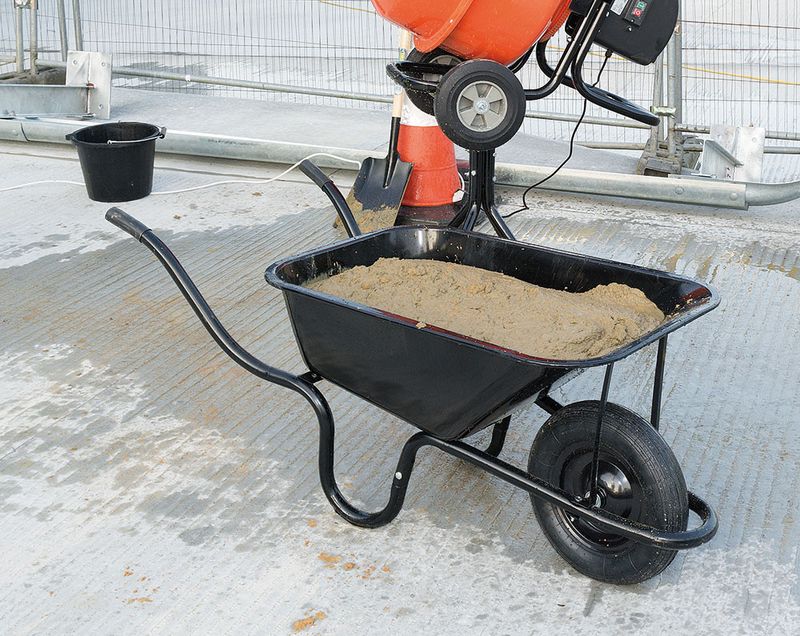
- Sand spreading tool or wheelbarrow
- Notched trowel
Next stage: Prepare the base for the artificial grass to lay on
This stage is a big one, but possibly one of the most vital, as it will help set the surface on which to lay your grass. So, let’s get started!
Step one: Clean and clear the surface
Your surface should be smooth, clear of debris and level. Once you’re happy with the required height of the grass against the existing natural grass, allow for any sub-base preparation.
Note: Do you notice movement in the concrete? Apply a thin layer of sand across the top of the sub-base. This will support the levelling of the surface and fill minor defects (if any).
Step two: Remove natural turf and grass
Using your turf cutter or a spade, remove the natural turf from the area. You can then remove natural grass and subsoil to a depth of around 10cm (100mm).

Note: For ground that is compacted and free draining, remove the natural grass to a depth of 7cm (70mm) instead.
Step three: Compact the area, then spray with weed killer
Grab your roller or vibrating plate, then compact the surface (wet, if possible). Following this, spray the area with a weed killer and install a weed control membrane.
Learn more about weed control membranes in our landscaping fabric buyer’s guide.

Note: If you need timber to surround the area, install it at this stage. Ensure it’s not sitting above the grass line you’ve planned for the final stage using a spirit level.
Step four: Apply aggregate to the area
There are two types of aggregate commonly used for this step:
- (Below on left) MOT Type 1; or
- (Below on right) Limestone (20mm grade size)
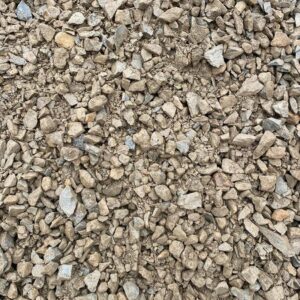
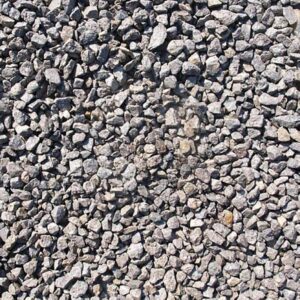
Whichever you choose, lay the product at a minimum of 75mm onto the surface and compact it with a roller or vibrating plate for a flat area.
Step five: Apply fine stone or sand
It’s time to add a final prepping material, which will sit over the aggregate.
Like the aggregate, there are two types commonly used for this step:
- (Below on left) Fine sand (6-14mm grade size); or
- (Below on right) Sharp sand (aka builders’ sand or grit sand)
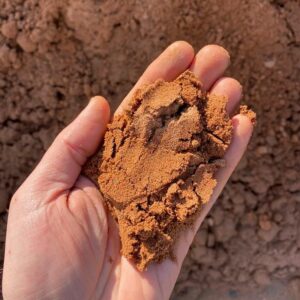
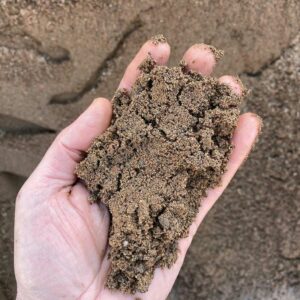
Once you’ve chosen your sand type, apply this to a depth of 20-49mm, then compact it to the required level. Top the product up if needed to achieve the required level.
With all that in place, you’re ready to move on to the next stage. So, let’s get to that all-important part – laying your artificial grass.
Now, keep in mind that the base type will affect how you lay your grass. So, find out what type of base you have, look at the different processes for laying artificial grass and opt for the one applicable to your area.
Laying your artificial grass on a solid base
A solid base is typically a concreted or wooden area. Here’s how to lay artificial grass on concrete or wood decking.
Step one: Roll the artificial grass onto the levelled area
When rolling the grass onto the surface, allow at least 5cm of excess artificial turf on all sides. Then, you can cut the grass back for a perfect edge.
Leave the grass to settle for about two to three hours to help remove any creases.
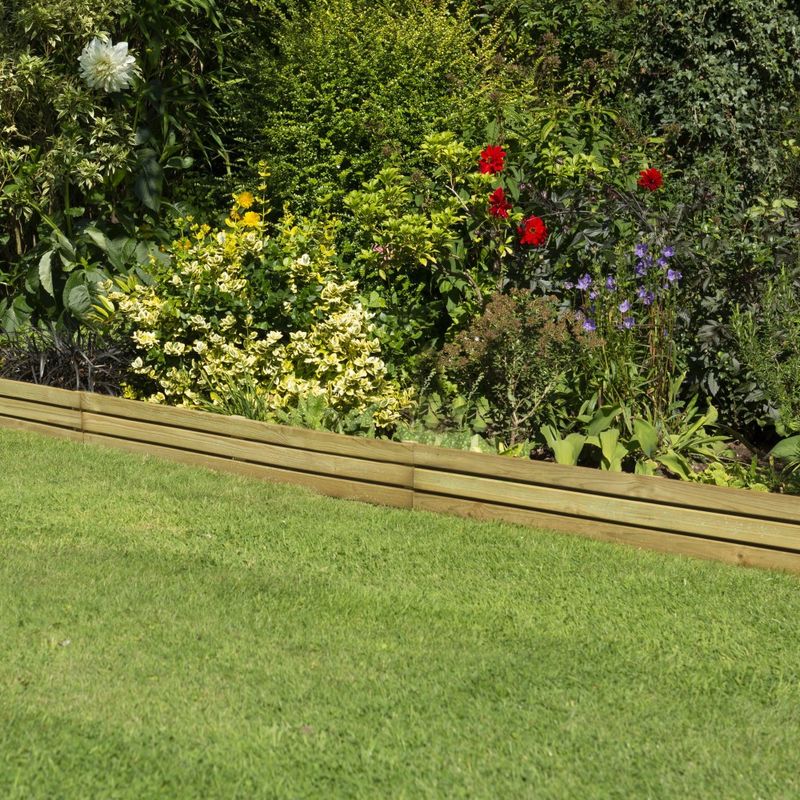
Step two: Trim the grass as needed
Using your sharp knife, trim the grass as needed for a smooth and pristine finish.
Once the product is trimmed as desired, you can use adhesive designed for outdoors to secure the grass down onto the concrete surface.
If you have a wooden surface or timber decking, carpet tacks are ideal for securing grass onto this surface.
Tip: Turn the grass over to run the knife across the material and between the stitch lines (not cutting the stitches!) to help define the shape more easily.
Step three (if necessary): Join pieces of grass together
This step is not always needed but can be likely in the event you have a large surface area. Check out how to join artificial grass for more information in this section.
Laying your artificial grass on a sand and stone base
A sand and stone base is as it sounds – sand plus stone. As such, the application method for artificial grass varies slightly. So, here’s how to lay artificial grass on a sand and stone base.
Step one: Roll the artificial grass onto the levelled area
After you’ve rolled the grass out onto the levelled, compacted area, leave it to settle for two to three hours (overnight recommended).
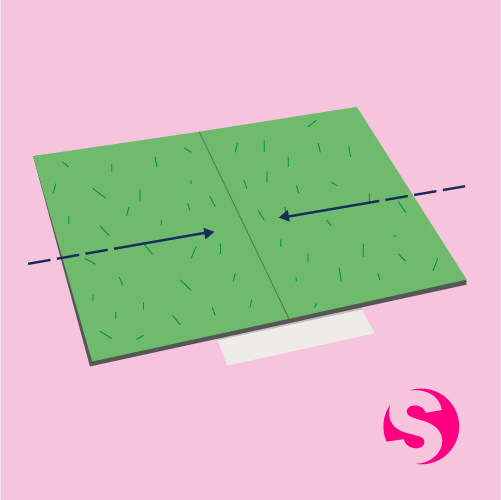
For the direction of the grass, it’s worth noting that the strands of grass will look better facing towards you rather than away. So, keep this in mind as you roll it across the surface.
Step two: Trim the grass as needed
Trim the grass edges with your sharp knife to achieve a smooth and pristine finish.
Tip: Flip the grass over, then use the knife along the material and between the stitch lines (without cutting the stitches!) to better outline the shape.
Step three: (if necessary): Join pieces of grass together
If you have a large surface area, you may need to join two pieces of grass together. For this, you’ll need joining tape and adhesive that’s suitable for outdoor use.
Check out how to join artificial grass for more information in this section.
Step four: Secure the grass in place
There are two ways you could secure your grass:
- Using a wooden batten; or
- Using landscape nails (placed 10cm-20cm apart)
Once secured, you can remove any extra pieces of grass and use a stiff bristle brush or broom to tidy it up.
How to join artificial grass
A larger area will most likely require two pieces of grass joined together. With that in mind, ensure you have joining tape and adhesive (suitable for outdoor use).
Now you’re all set, here are the steps for joining artificial grass.
Step one: Unroll the artificial grass
Lay the artificial grass in place, then cut it close to the beading on the first piece. There should be no spaces. On the second piece, cut and leave space for the beading.
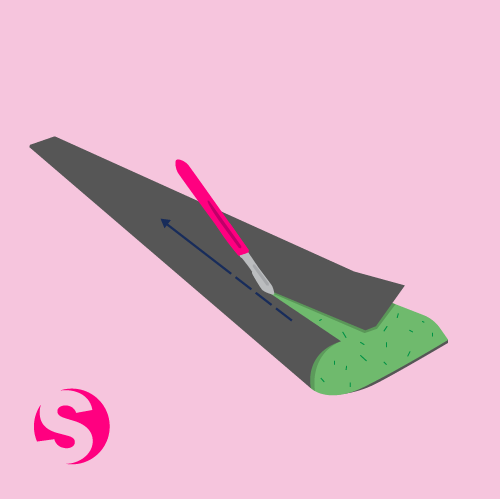
Step two: Prepare the joining position
Sit the newly cut pieces together, testing the join without adhesive and tape first to ensure they sit in the required position. If the joining edges are suitable, fold them back (roughly 30cm) and unroll the joining tape. Place the shiny side of the tape face down onto the surface in the centre of these two folded pieces.
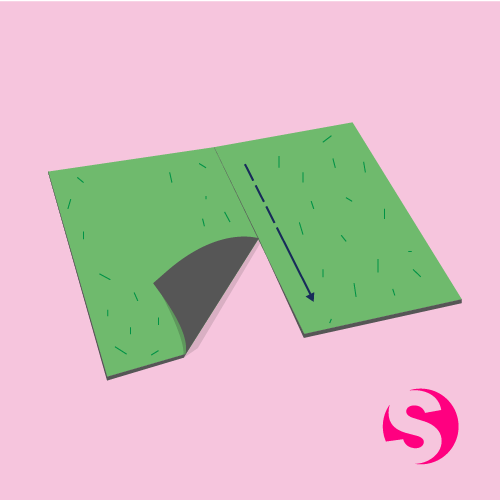

Step three: Add the adhesive to the joining tape
Grab your adhesive and place the glue onto the joining tape (preferably using a mastic gun). A bead line works best for better coverage. Use a scraper to help spread the glue further across the surface of the tape.
Once that’s sorted, start at one end of the joining seam and carefully join the parts together. Be careful not to damage or bury the tufts as you go.
Step four: Lightly brush the seam
Now each part is joined together, use a brush to lightly sweep over the seam. This will help the sand put pressure on the adhesive without too much force.
Have you just laid your artificial grass? Here’s some aftercare guidance
Maintenance from here on out is simple but effective. You can find out all about artificial grass aftercare via our buyer’s guide, including how often to clean it, what to clean it with and more.
You can also learn about how to look after fake grass for the garden when you have pets or how to remove weeds from an artificial lawn via our other help and advice. Check out all this and more or discover other landscaping support to help you get through your latest gardening project with ease.
Was this guide useful?
Mentioned in this project guide:


